
AWS IoT - Getting started tutorial with node.js
Getting started tutorial with node.js on the new AWS IoT service
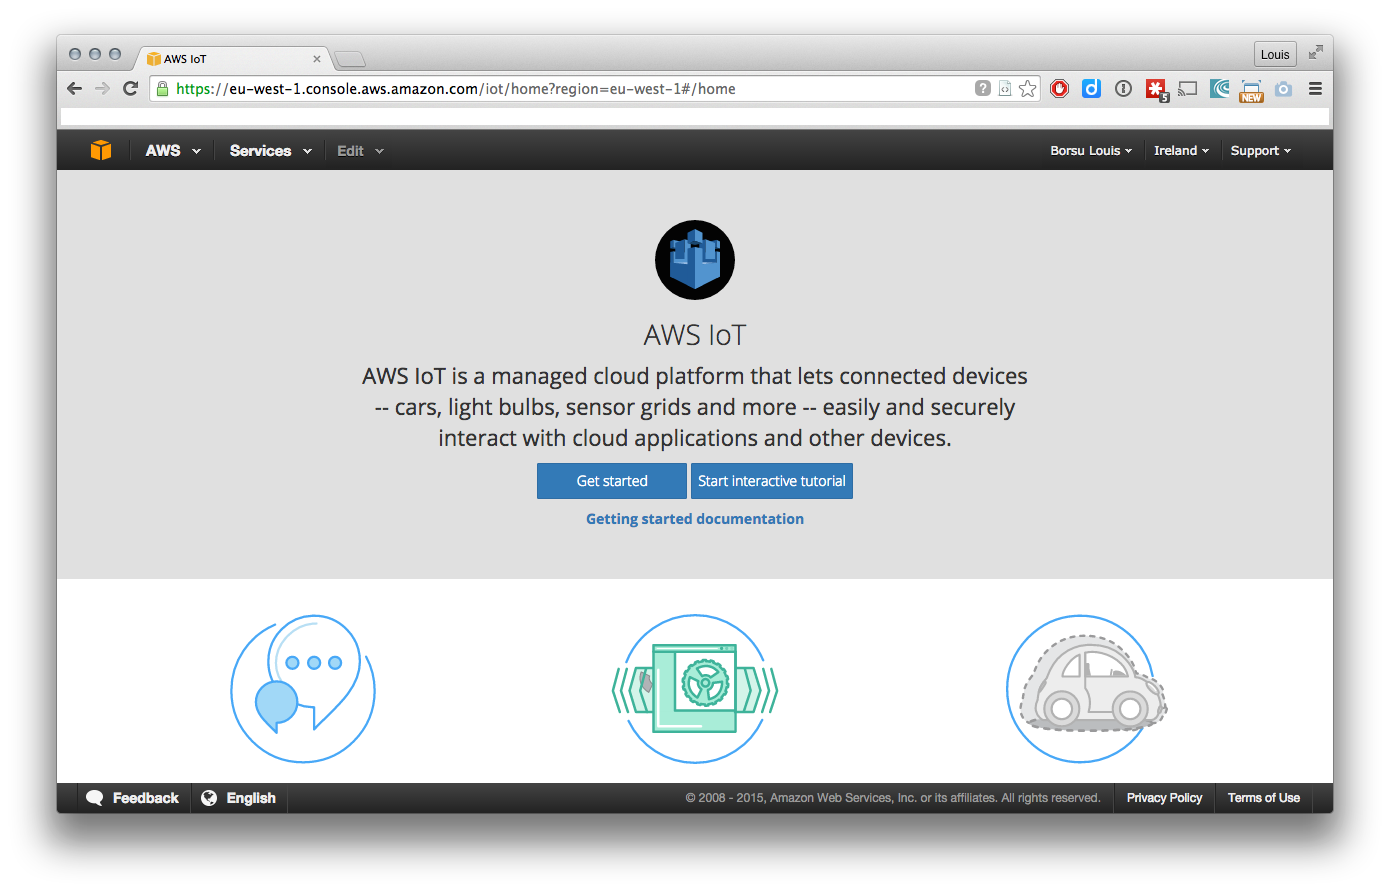
During his 2015 edition if the re:Invent show, AWS has released a new tool dedicated to our electronic devices.
The tool is a pub/sub system that includes a full SDK, TLS connections, and more…
Let’s get started with a simple example and run our first application with the node.js platform (used by the Beaglebone for instance).
We first need to create our first project. As we’re speaking about the internet-of-thing topic, AWS decided to call the projects things. Let’s respect that super creativity by picking a super original name : Tutorial

You now have your first thing in your dashboard :

To be able to publish or receive any messages, we have to create a device into our project. To do it, we will click on our thing and select Connect a device

Here, the wizard will ask you on which platform you want to develop your application, in our case we are gonna use node.js. The wizard will then give you the ability to download your certificates.
!! Download those three ones now, as you’ll not have the ability later !!
Yes, as AWS does for all the credentials, it’s a one time access, which makes sense on a security perspective.

You will also need a root certificate (also called CA certificate) to be able to open the TLS connection with the server. This one is available on Verisign website. Download this file and name it root-CA.crt
Let’s clean a bit and rename/move our certificate to our project folder. The names that I’ll use in this example are:
certificate.pem.crt
private.pem.key
public.pem.key
root-CA.crt
If you want to copy/paste the code, use the same names.

We now have everything ready on AWS side, and you should see three items in your dashboard, a thing, a certificate and an access policy:

The last step of the setup will be to install the required SDK. AWS has released a npm package for us:
# npm i aws-iot-device-sdk
I did create a test.js file in the project folder and required the sdk at the top:
var awsIot = require('aws-iot-device-sdk');
Now that all our setup is ready, let’s write our first lines of code!
We first need to define our device. To do it, we have to create a device object.
var device = awsIot.device({
   keyPath: './certs/private.pem.key',
  certPath: './certs/certificate.pem.crt',
    caPath: './certs/root-CA.crt',
  clientId: 'Tutorial',
    region: 'eu-west-1'
});
Do not forget to adapt your region.
Now that we have our device object, let’s act on the connection event that is triggered when the connection with the AWS IoT server has succeed:
device
  .on('connect', function() {
    console.log('connected');
  });
At this step, if we run our application, we will see that it is correctly connecting to the AWS IoT servers.
# node test.js
connected
Ok, this is a good start, but let’s do something a bit more sexy.
AWS IoT offers us a messaging queue service that allows us to publish message over topics and receive message from topic we have subscribed to.
We can also define actions on AWS side for messages that have been published on specific topics.
Let’s subscribe to our first topic:
device
  .on('connect', function() {
    console.log('connected');
    device.subscribe('topic_1', function(error, result) {
      console.log(result);
    });
  });
If we run the application, we receive back the confirmation that we have correctly subscribed to the topic_1 (name that we have choose arbitrarily)
# node test.js
connected
[ { topic: 'topic_1', qos: 0 } ]
We will also need a piece of logic that will display a message when one will be published on the topic:
device
  .on('message', function(topic, payload) {
    console.log('message', topic, payload.toString());
  });
You can run your application, but you will not see anything unexpected here. Indeed a message has to be published to make our application reacts.
Unfortunately, AWS doesn’t offer yet the ability to publish a message from the interface like they do for SQS, we will then need to publish a message ourself if we want to see something happening. We gonna take that as a opportunity to discover the third concept of those AWS IoT features, the rules.
Those give us the ability to define an action when the server receives a message.
Let’s create our first one, to do it, you have to click on the Create a ressource button:

Then you will have to select the rule type.

We gonna write the query to match to any messages published to our new queue topic_2:

And we will pick the republishing action. That way we’ll be able to republish our messages to the queue we have subscribed to : topic_1


To be able to publish to our queue, we need permissions, which means creating a new policy in the IAM. Hopefully, AWS helps us here by automating the process. Indeed, if you click on Create a new role you are redirected to a pre-filled policy generator:

Just validate it as it is and it will be automatically added to our rule:

Now, just click on Add Action and you’ll be able to finish the rule creation process:

Now, let’s publish a message to that topic and read what we get in return:
device
  .on('connect', function() {
    console.log('connected');
    device.subscribe('topic_1');
    device.publish('topic_2', JSON.stringify({ test_data: 2}));
  });
Then if we run our application, we receive back our message in return:
# node test.js
connected
[ { topic: 'topic_1', qos: 0 } ]
message topic_1 {"test_data":1}
Here is the end of our tutorial, it’s a very basic introduction to the usage of AWS IoT, but it gives you a good view of the pub/sub system that this service offers. With that process in mind, you could easily tweak it to:
- Store sensors values into a dynamoDb
- Light up a led from a web server
- …
You can also find more advanced examples on the AWS JS SDK repository.
If you want a French and updated version of this article, you can find it here : https://lacavediy.com/2018/01/01/aws-iot-connexion-avec-le-guide-assiste/